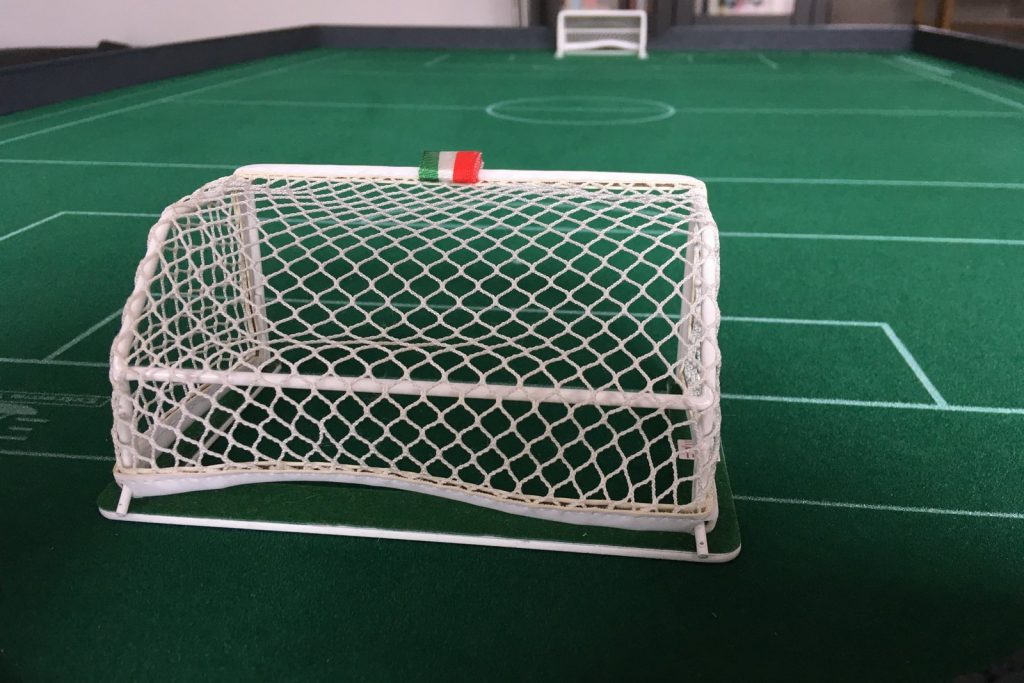
Building a foldable DIY Subbuteo table

You’ve always dreamed of a smart Subbuteo table that can be stored away after a training session? Check out Flicking Forever’s new step-by-step tutorial with 25+ photos.

Foldable legs.

Foldable board.

Saves so much space.
Tutorial
Part one: The frame
Click on the first photo to open a gallery with all the descriptions.

1 | I used construction wood (7 x 7 cm) to build the table frame. You can see the bars’ dimensions in the picture above. Pay attention to use extra long screws (at least 10 cm).

2 | The MDF board for the Extremepitch measures 150 x 100 cm and is 22 mm thick. In the photo above, I put it on a wooden stand to mount the frame on its back side.

3 | Three metal hinges (fixed with seven screws each) carry the MDF board when the table is folded.

4 | A metal bar shoe is a good idea to stabilize the two foldable table legs.

5 | Frame and legs mounted and folded. I mentioned some dimensions in the photo above.

6 | Two adjustable furniture feet are a must to compensate floor irregularities.

7 | Four furniture wheels (6 cm height) are mounted under the wooden frame.
Part two: The surrounds

8 | I took wood strips to craft the surrounds: 5 cm high and 1 cm thick.

9 | The strips were painted with grey lacquer (two layers).

10 | Can’t remember how I came up with that idea but I took a sheet of cork (5 mm) and cut out small stripes.

11 | I painted the stripes with the same grey lacquer and after they had dried…

12 | …I glued them on the surrounds. Now they serve as shock absorbers to protect the figures.
Part three: The pitch

13 | This is my new Extremepitch, the fastest and maybe best Table Soccer pitch on the market! Comes in a tube and can be glued or thumbtacked on a MDF board.

14 | I decided to fix the Extremepitch permanently with a spray adhessive. I used a plastic rain pipe to flatten the pitch (avoids any bubbles!).

15 | After the pitch has been laid, I fixed the four surrounds carefully with screws.

16 | Step by step, I completed my new Table Soccer board. After all surrounds were mounted,…

17 | …I did some fine works like grinding and re-painting the edges and varnishing the outsides with clearcoat.

18 | I created a small pattern for the Extreme Works goals. Good to know where the drill-holes should be.

19 | Final test: This board is level.
Part 4: Enjoy!

20 | After the first training session I can say without doubts: This Extremepitch is really fast!

21 | Good choice to glue a cork surface on the surrounds: It cushions and protects the figures.
Encores

23 | Practicing shots can be frustrating for a beginner when you miss the goal and the ball falls to the floor (or slips under the sofa!).

24| As a small encore project, I created a wooden wall with cork surface that can be easily attached on the boundary behind a goal.

25 | Even your worst shooting attempts are being blocked now by the wall. Have fun with this Subbuteo solo training idea.
So this is my new foldable DIY Subbuteo table. I hope that you like it and my tutorial was understandable. If you have any questions or suggestions, please leave a comment below. And do not forget to subscribe to my newsletter.


Looks great! I’d love to see a shot from behind the goal, showing the whole profile.
How much did it cost you to make this? cheers, Jason
Outstanding! Great detail and great ideas with the cork. Looks like I’ll be building this with my little boy in the coming months, I’ll send you pics of the results.
Thanks for your kind comment, Luke! I would be happy to see photos of your table!
Truly amazing, I tried this a few years back – but now I feel like trying again!
Well done!!!
Where did you buy the goals from. I’m struggling to find any decent ones on line
How much did it cost in total to make not including the pitch and goals?
What was the total price to make not including the pitch and goals?
Hi
Table is great. Where did you Purchase the cork from please
Is it possible to show a tutorial on how to make the wooden wall for when practicing shots
Thanks